Self-watering flower pot: How to use them and how they work
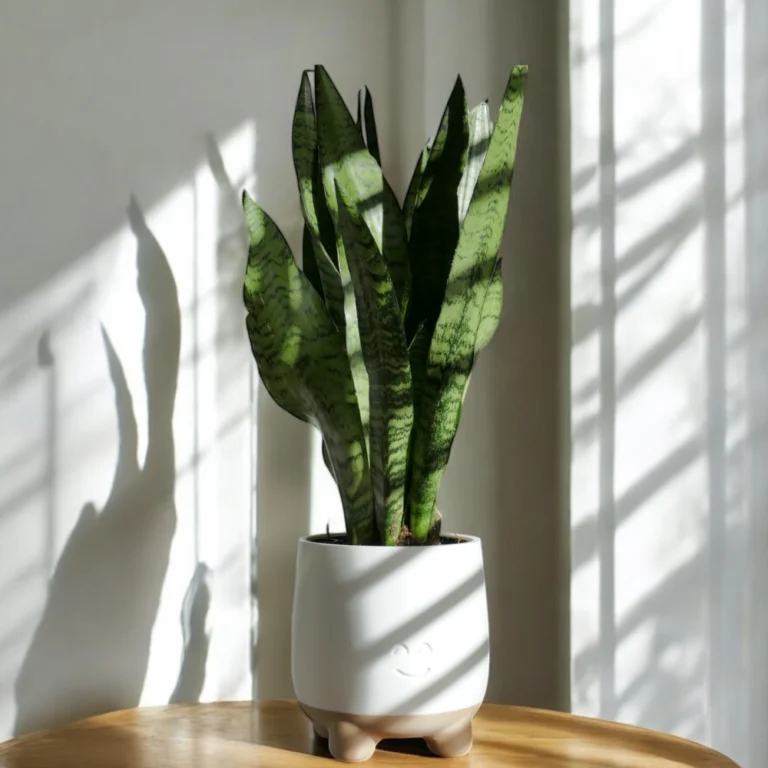
Ocel Design’s self-watering plant pot is designed to give your plants the perfect amount of water without constant supervision. With an easy-to-fill reservoir and user-friendly design, our self-watering pot makes taking care of your plants effortless and efficient. This guide will help you get the most out of your new plant pot and ensure your plants stay healthy and lush for years to come.
Getting your self-watering plant pot up and running is easy, but requires a few specific steps to ensure optimal results. By carefully following these instructions, you will create the ideal environment for your plants to flourish with minimal effort on your part.
1. Unpack the self-watering jar.
2. Add the included hydro pellets to the soil.
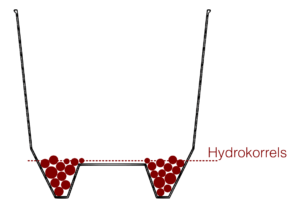
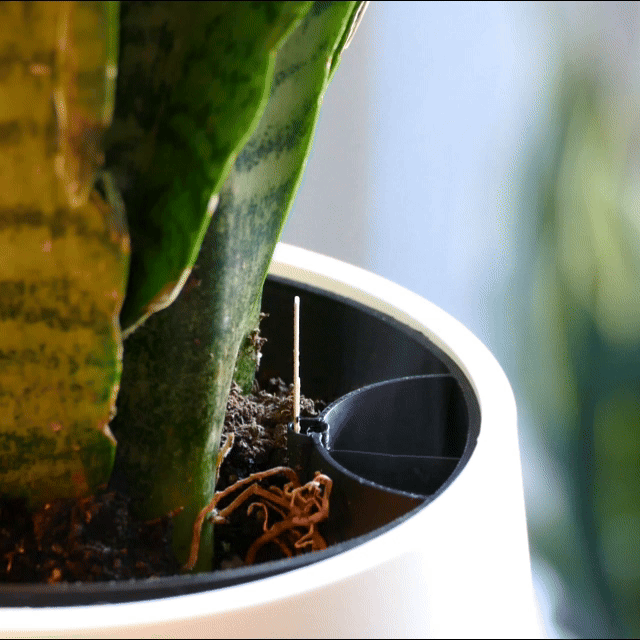
After unwrapping the inner pot, add the included hydro pellets to the bottom of the pot. These clay granules play a crucial role in the self-watering system by transporting water upward and slowly releasing it to the plant’s roots. The hydro grains also improve air circulation around the roots, which is essential for healthy plant growth and preventing root rot 3.
3. Place your plant
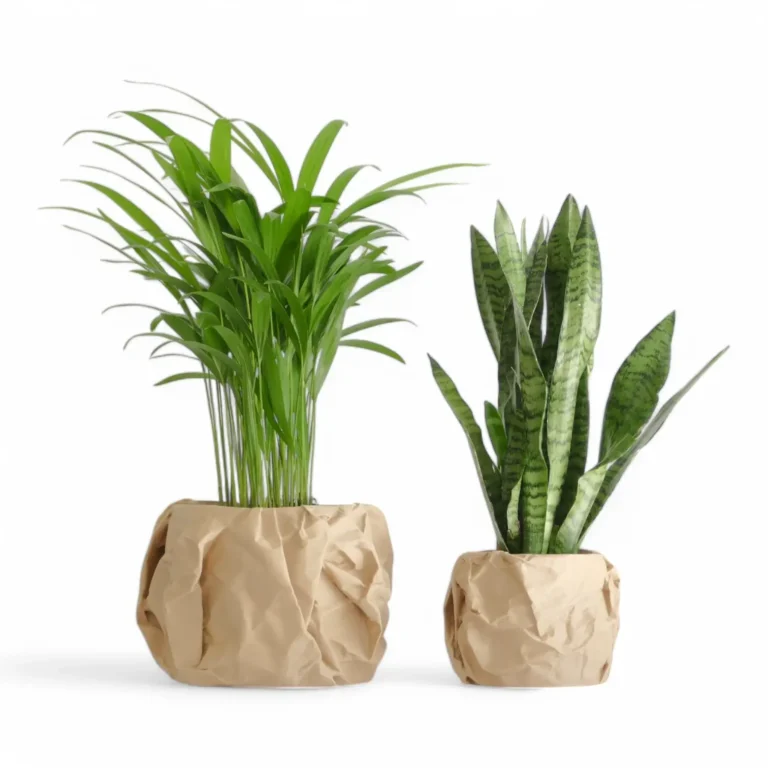
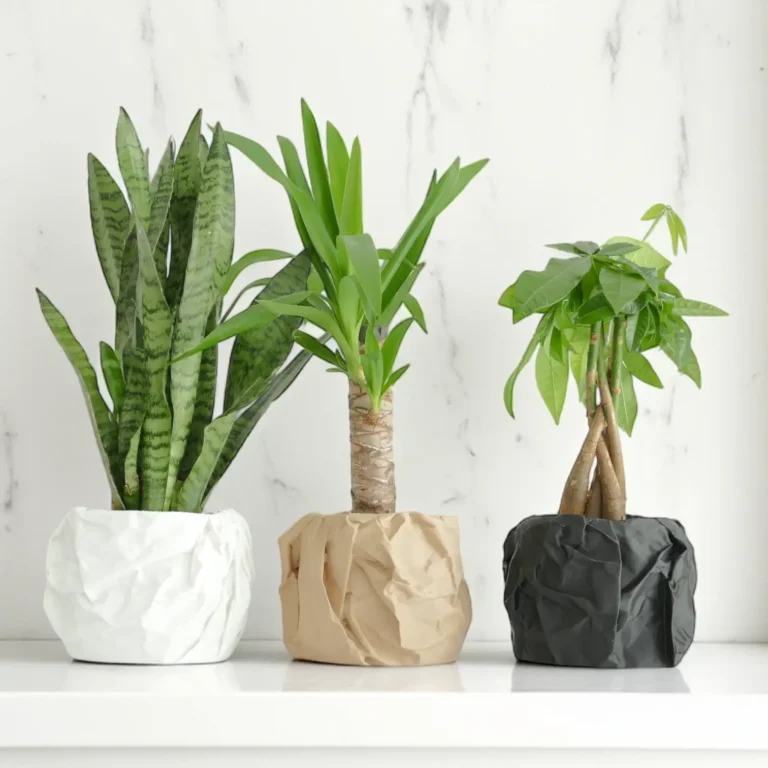
You can now place your favorite plant in the inner pot. You have several options here for the planting medium:
- Original potting soil.
You can just keep using your plant’s original potting soil, which is the least stressful for the plant. - Own potting soil.
Always use specific potting soil for houseplants, as it contains the proper structure and nutrients for plants kept indoors. - Hydro pellets
They improve drainage and air circulation for roots, which reduces the risk of root rot and enables efficient water use. Moreover, hydrobeads are reusable, making them a sustainable and environmentally friendly.
4. Remove the sticker over the water indicator.
An important part of your self-watering pot is the water indicator. This handy feature helps you monitor the water level in the reservoir. Before you start using the pot, remove the protective sticker from the water indicator. This allows the indicator to move freely and accurately display the water level during filling and use.
5. Fill the reservoir with lukewarm water
Seller


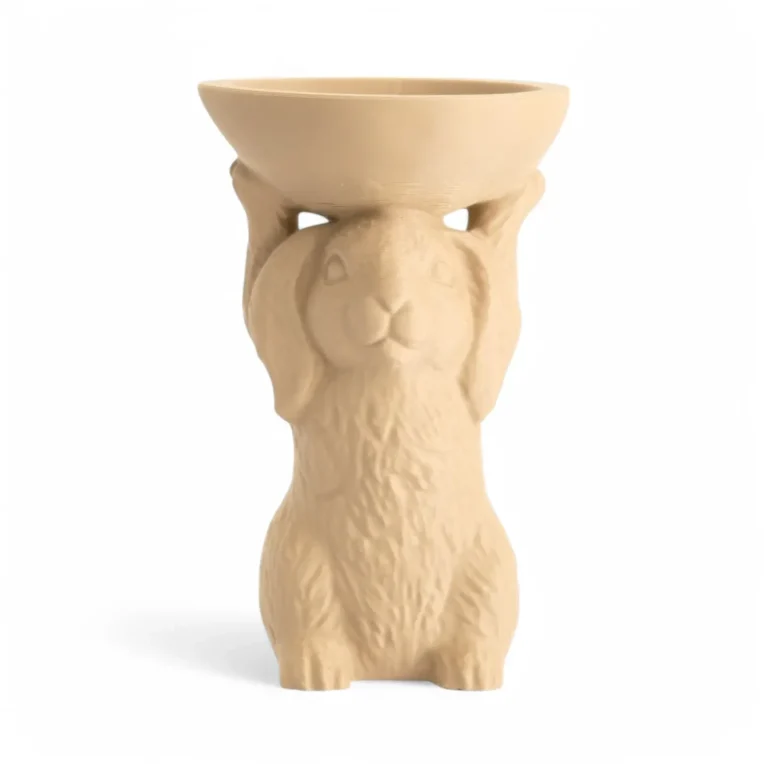

Konijn WILLOW